Ways to Declutter Your Instagram Feed
This month, we’re sharing tips on how to declutter an Instagram feed when you’re working with busy photos. Read on for some tools and methods that you can use to enhance your Instagram feed.
Set a grid layout
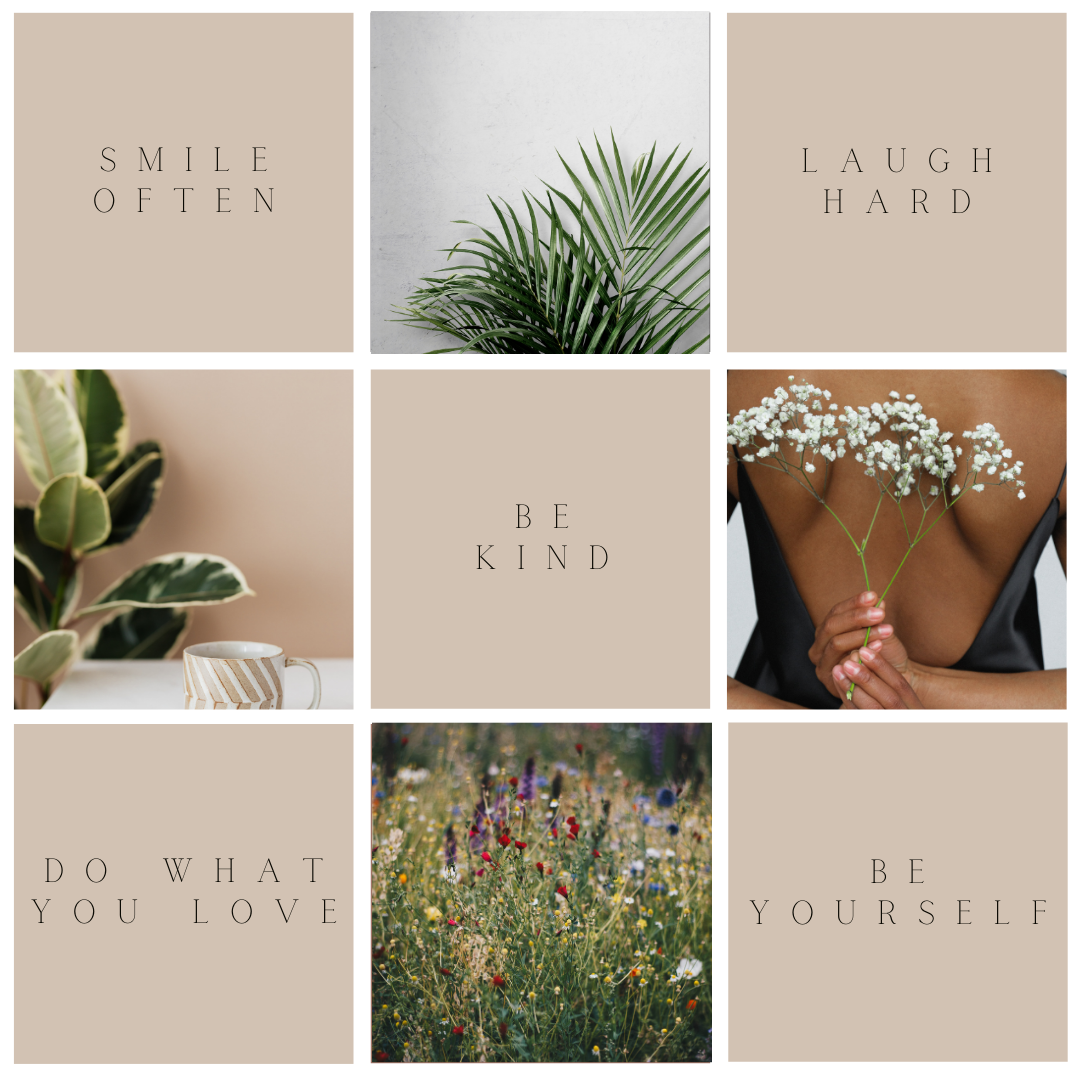
Our first piece of advice is to set a theme for Instagram, follow a theme on how your grid will look. By following a grid layout, it can help break up an Instagram feed if the images are too busy. We recommend that you use a carousel theme in your feed, so you can alternate from a picture to a graphic. It helps break up the busy look of just photos, for the graphics you can post memes, repurpose your tweets, make infographics, or use quotes. The quotes can be one or a mixture of industry, business and/or motivational quotes. For examples, check out our Instagram page!
Remove Busy Backgrounds
If many of the images you have are with busy backgrounds, try to remove the backgrounds. By removing the background, it gives you room to either add in your own or have a solid background. You can curate these background images through a stock image provider — our favorite is Pexels! We recommend you stick to a simple background and when possible, you can add shadows for a more real feel or an outline to a subject for an element of fun. If you need help removing the background image, here are a few tools that can help you do so:
Canva
Canva Pro can remove backgrounds using the “effect” feature and by clicking on “Remove Background.” The Canva tool gives you control of editing the image if the tool doesn’t remove the background exactly how you wanted. You have two tool options, an “erase (-)” and a “restore (+). This is great if you have an image with a complicated background that the tool couldn’t precisely remove.
Microsoft Word
A great hack if you’re on a tight budget! When you insert your image, it gives you an option of “remove background.” This is a great alternative as it’s free, but it also gives you control of erasing or restoring aspects of the image.
InPixio
Similar to the two previous tools mentioned, this is also a free online resource. It gave you the ability to erase or restore parts of the image in a more precise form. We highly recommend this tool if you’re looking to get really detailed with your editing.
We highly recommend that you look at these resources and find the one that fits your design style. Please remember, these aren’t the only resources out there. There are many other free and paid subscription resources and tools.
Set Product Photo Guidelines
Set some guidelines for how you’d like your product photos to look like. By setting guidelines, you can diminish the number of photos you can’t use or will need to edit. If the work is for a client, offer to create the content for them or recommend any photographers you know that align with their budget. Your clients may not have the budget for professional product shoots or may not feel comfortable outsourcing because of Covid-19. But there are ways around this, whether they send you the products or do it themselves. Below are some ideas for product shoots for yourself or if you have clients.
Lighting: Use natural lighting or studio lights if possible. Lighting is important, it can also diminish the time you spend editing. Here is a great option from Amazon that is portable!
Minimize background clutter: For the best product photography, stick to the product and one or two props.
Backdrops: Using a backdrop for your product shoots can elevate your photos. Below are some tips and tricks to do so. If you’re looking for professional photo backgrounds we recommend Replica Surfaces.
Cardstock - buy it from the craft store, such as Michael’s or Joann’s, and lay the cardstock and the product on the floor. Use natural lighting and unique shadows to get a product photo. Is your client a skincare brand? Bring in fruit that is found in the product to add an organic and natural touch!
Window Curtains, Fabrics, and Bedsheets - It may sound crazy, but yes, you can use these as backdrops for product shoots! If you’re on a budget, you can always just rely on fabrics from the craft store, it’s cost-friendly and you have so many colors and textures to pick from. We recommend draping your desired backdrop over a chair or a door. Play around with your desired backdrop and add waves for texture.
If you're proposing these guidelines to a client, emphasize the importance of high quality images. The goal for you is to publish the best content possible to grow their following, and this is the best way to do this.
Working with What You Have
If you aren’t able to set guidelines or remove backgrounds, we would recommend the following.
Try to space out content within the feed to break up the business of the photos.
Establish a frequency for when you will post busy photos. Will busy photos show up in the feed every other post or every 6th post in your lineup?
It might also help to plan out your grid. Sometimes, it helps to draw grids out before even trying to curate a preview feed on the computer.
Whether you’re needing to revamp your own Instagram or a client’s Instagram, we hope you have found some helpful tips that can take your Instagram and product photos to the next level!

